“Well,” said Pooh, “what I like best,” and then he had to stop and think. Because although Eating Honey was a very good thing to do, there was a moment just before you began to eat it which was better than when you were, but he didn’t know what it was called.
A.A. Milne
I’m not sure what it would be called either. Or what dear Pooh would think of honeycomb. I imagine he’d indulge himself in a little smackerel, but hopefully not so much that he gets stuck in the doorway trying to get out. I’m sure that he would share a little pearl of wisdom, as we always get something lovely when it comes to that silly old bear… Even if he is a Bear of Very Little Brain.
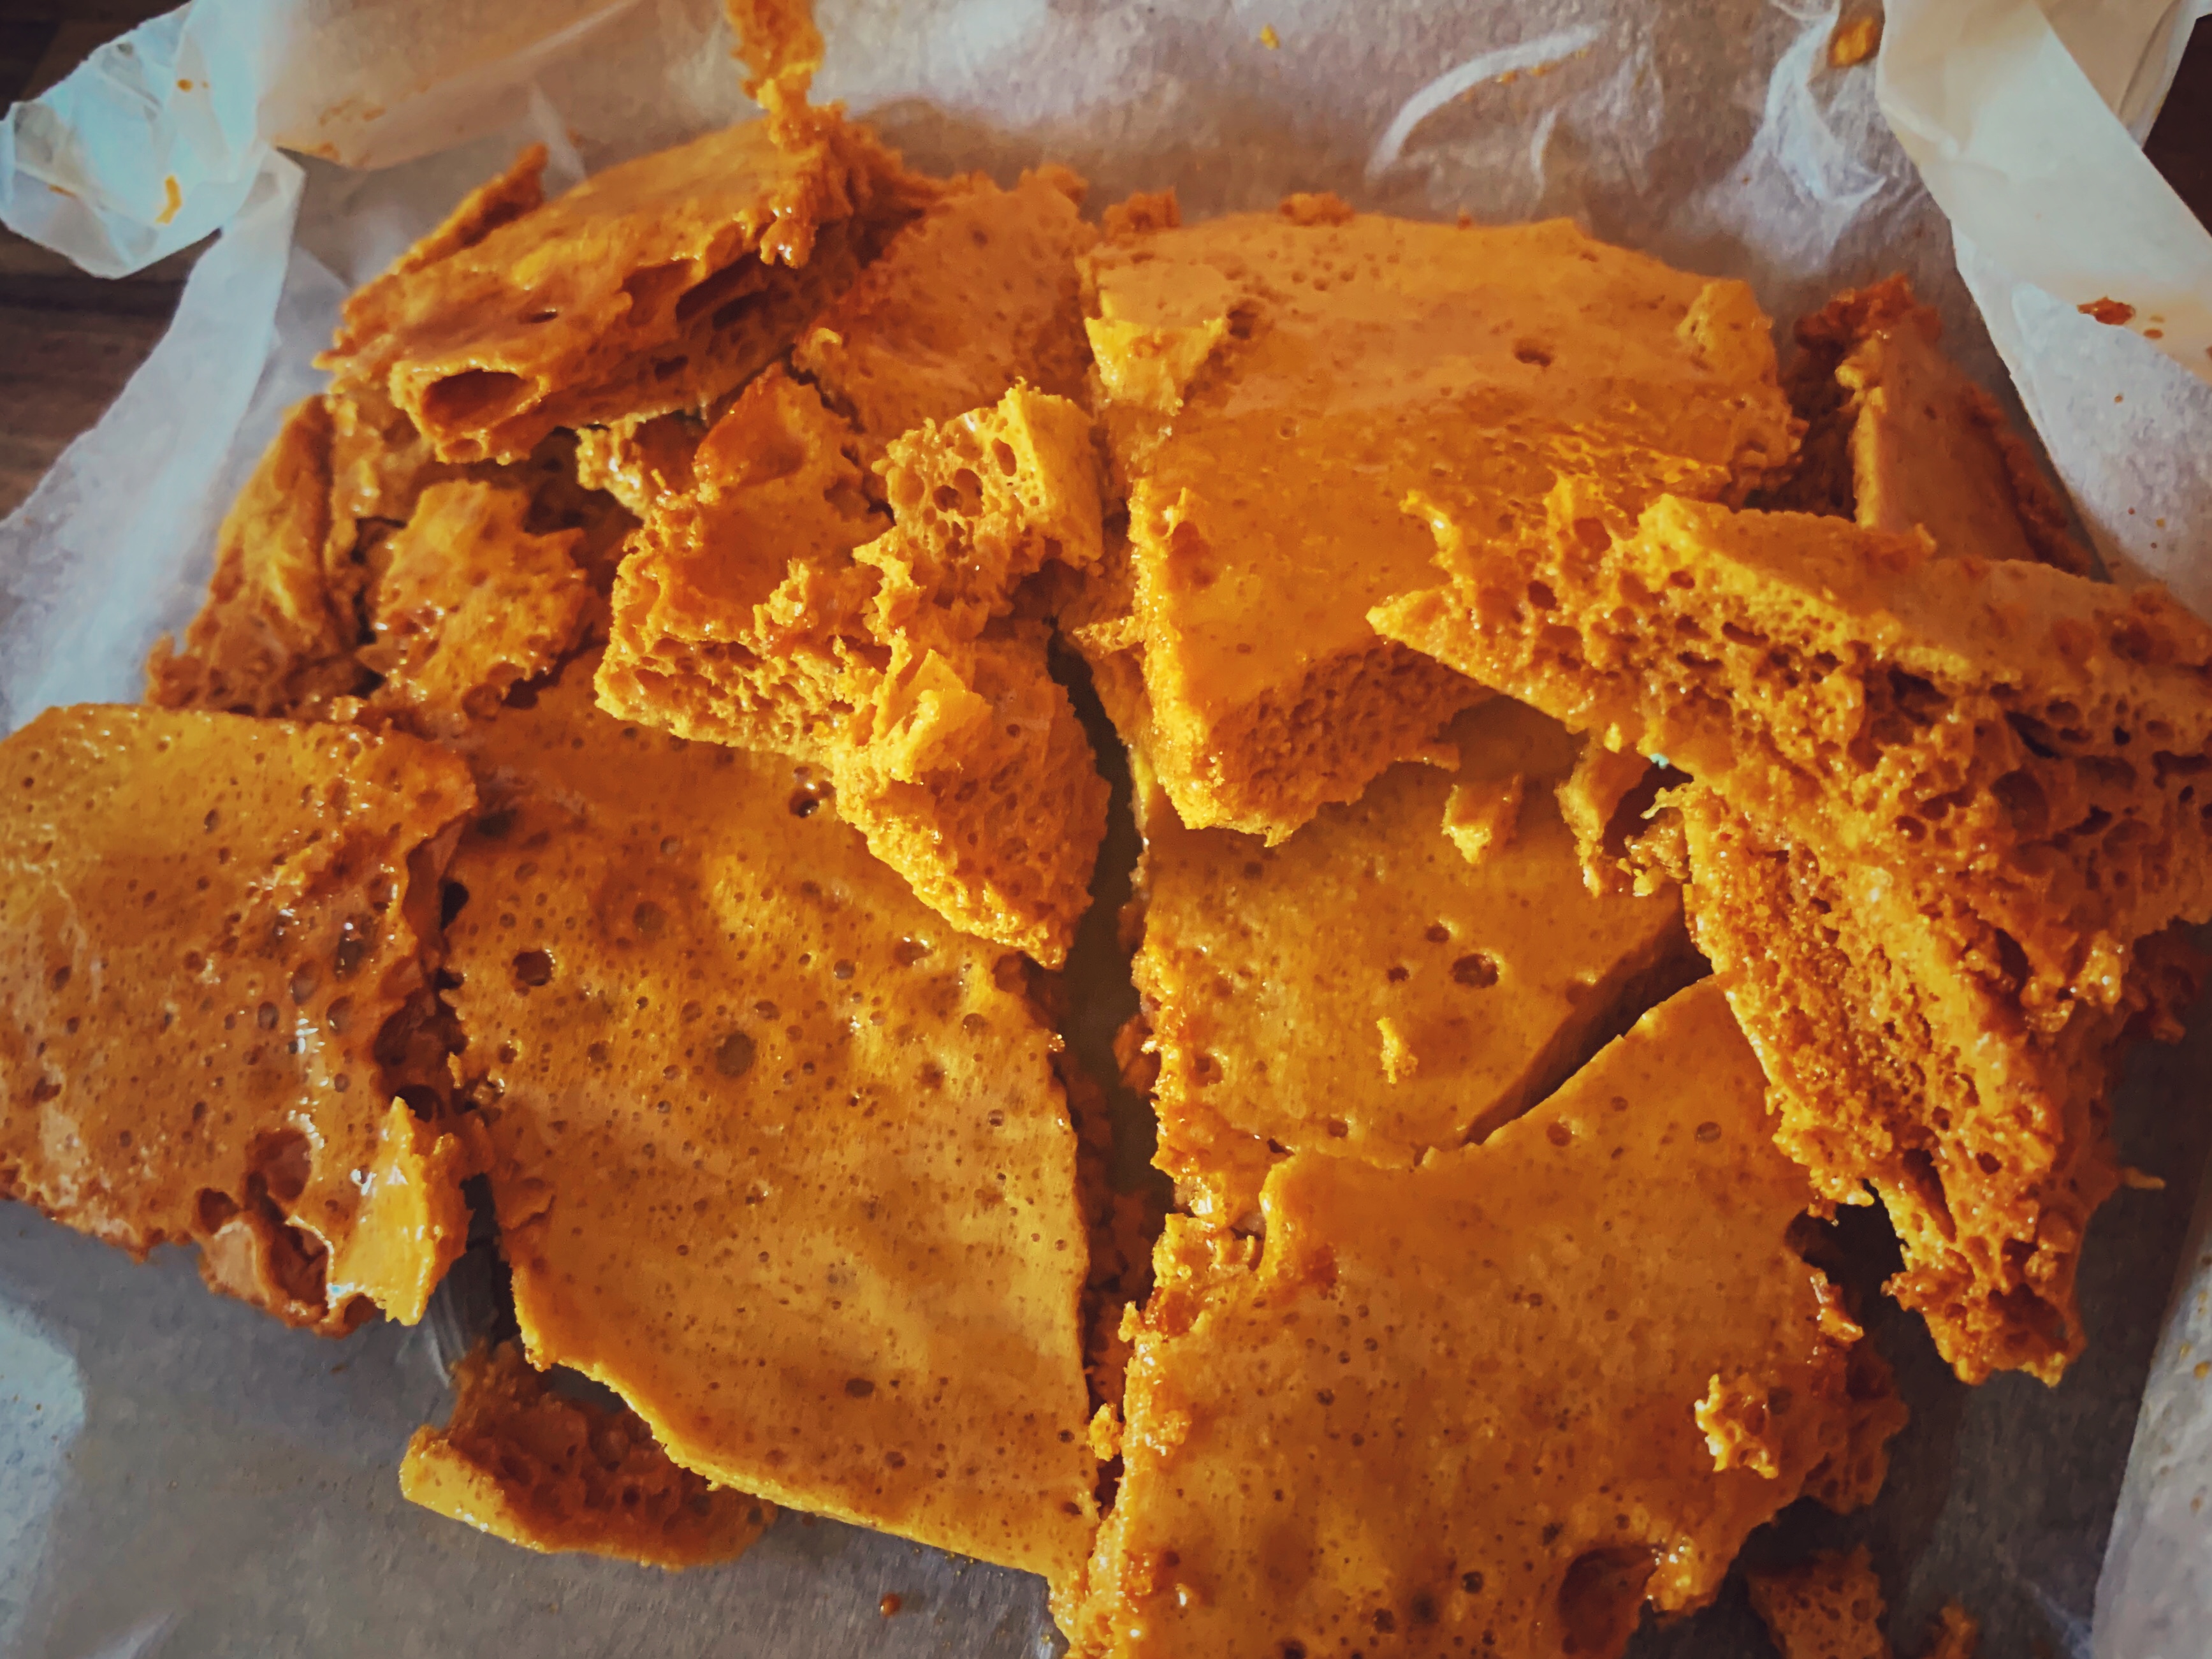
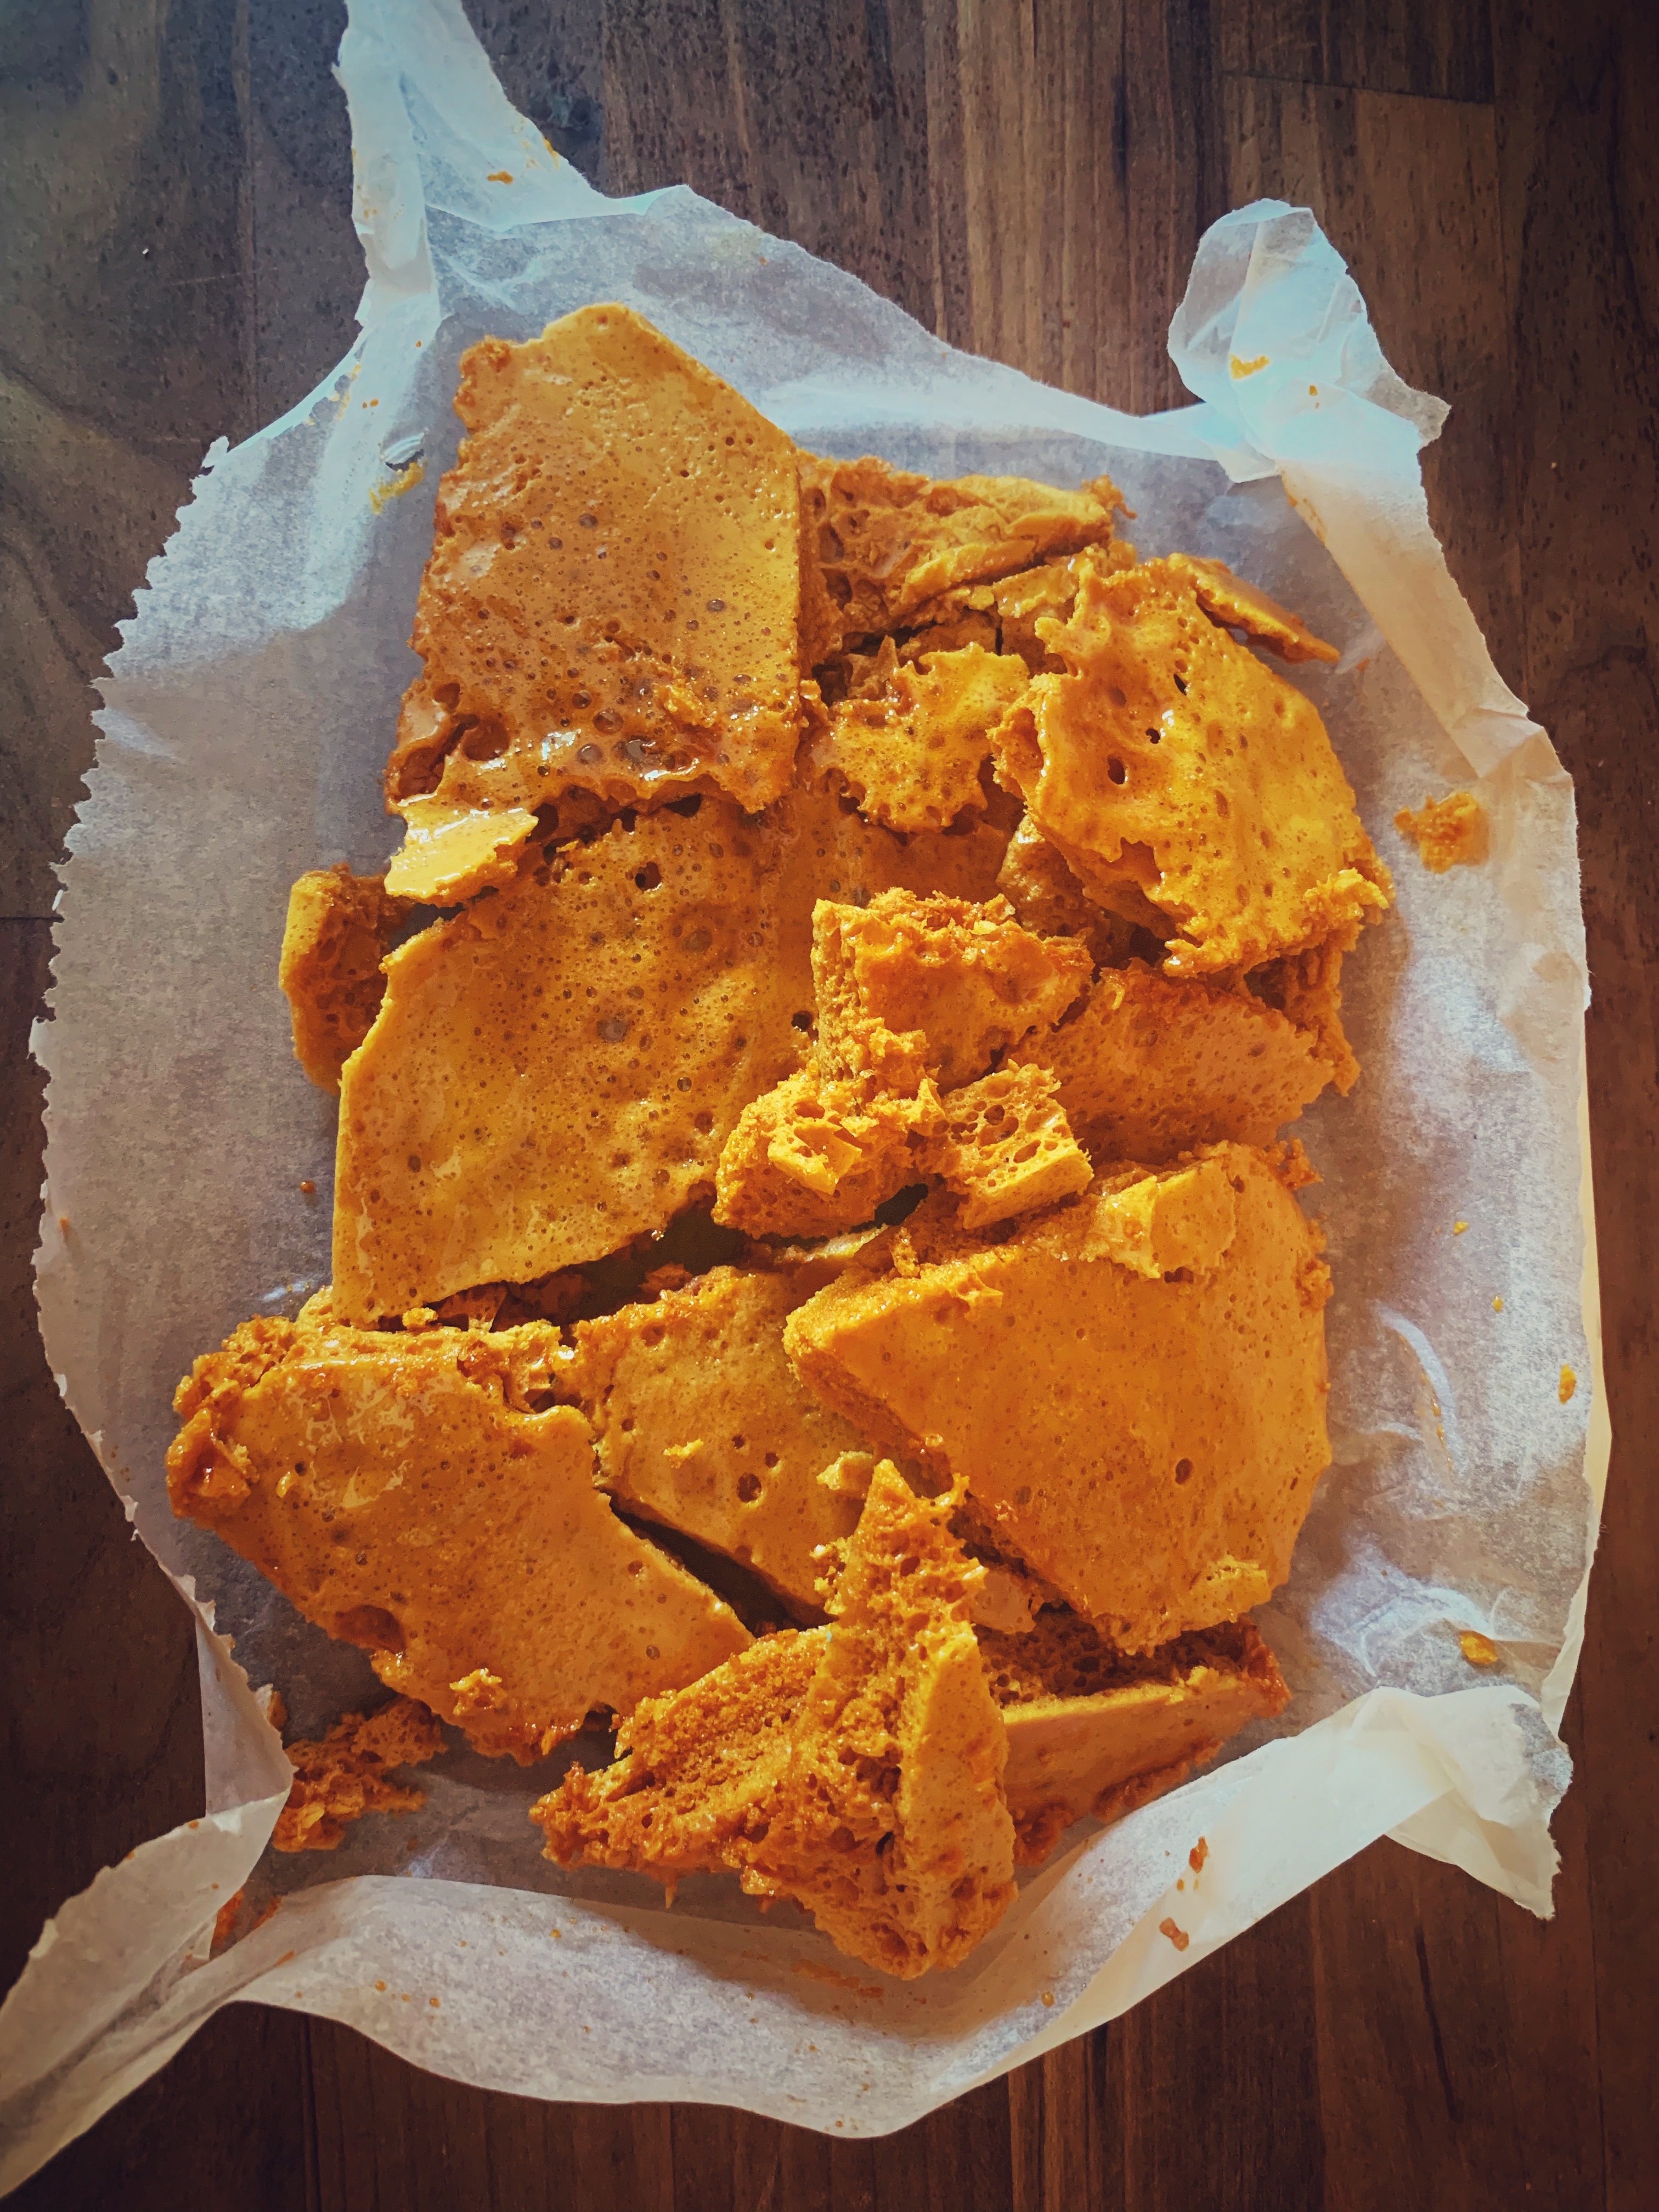
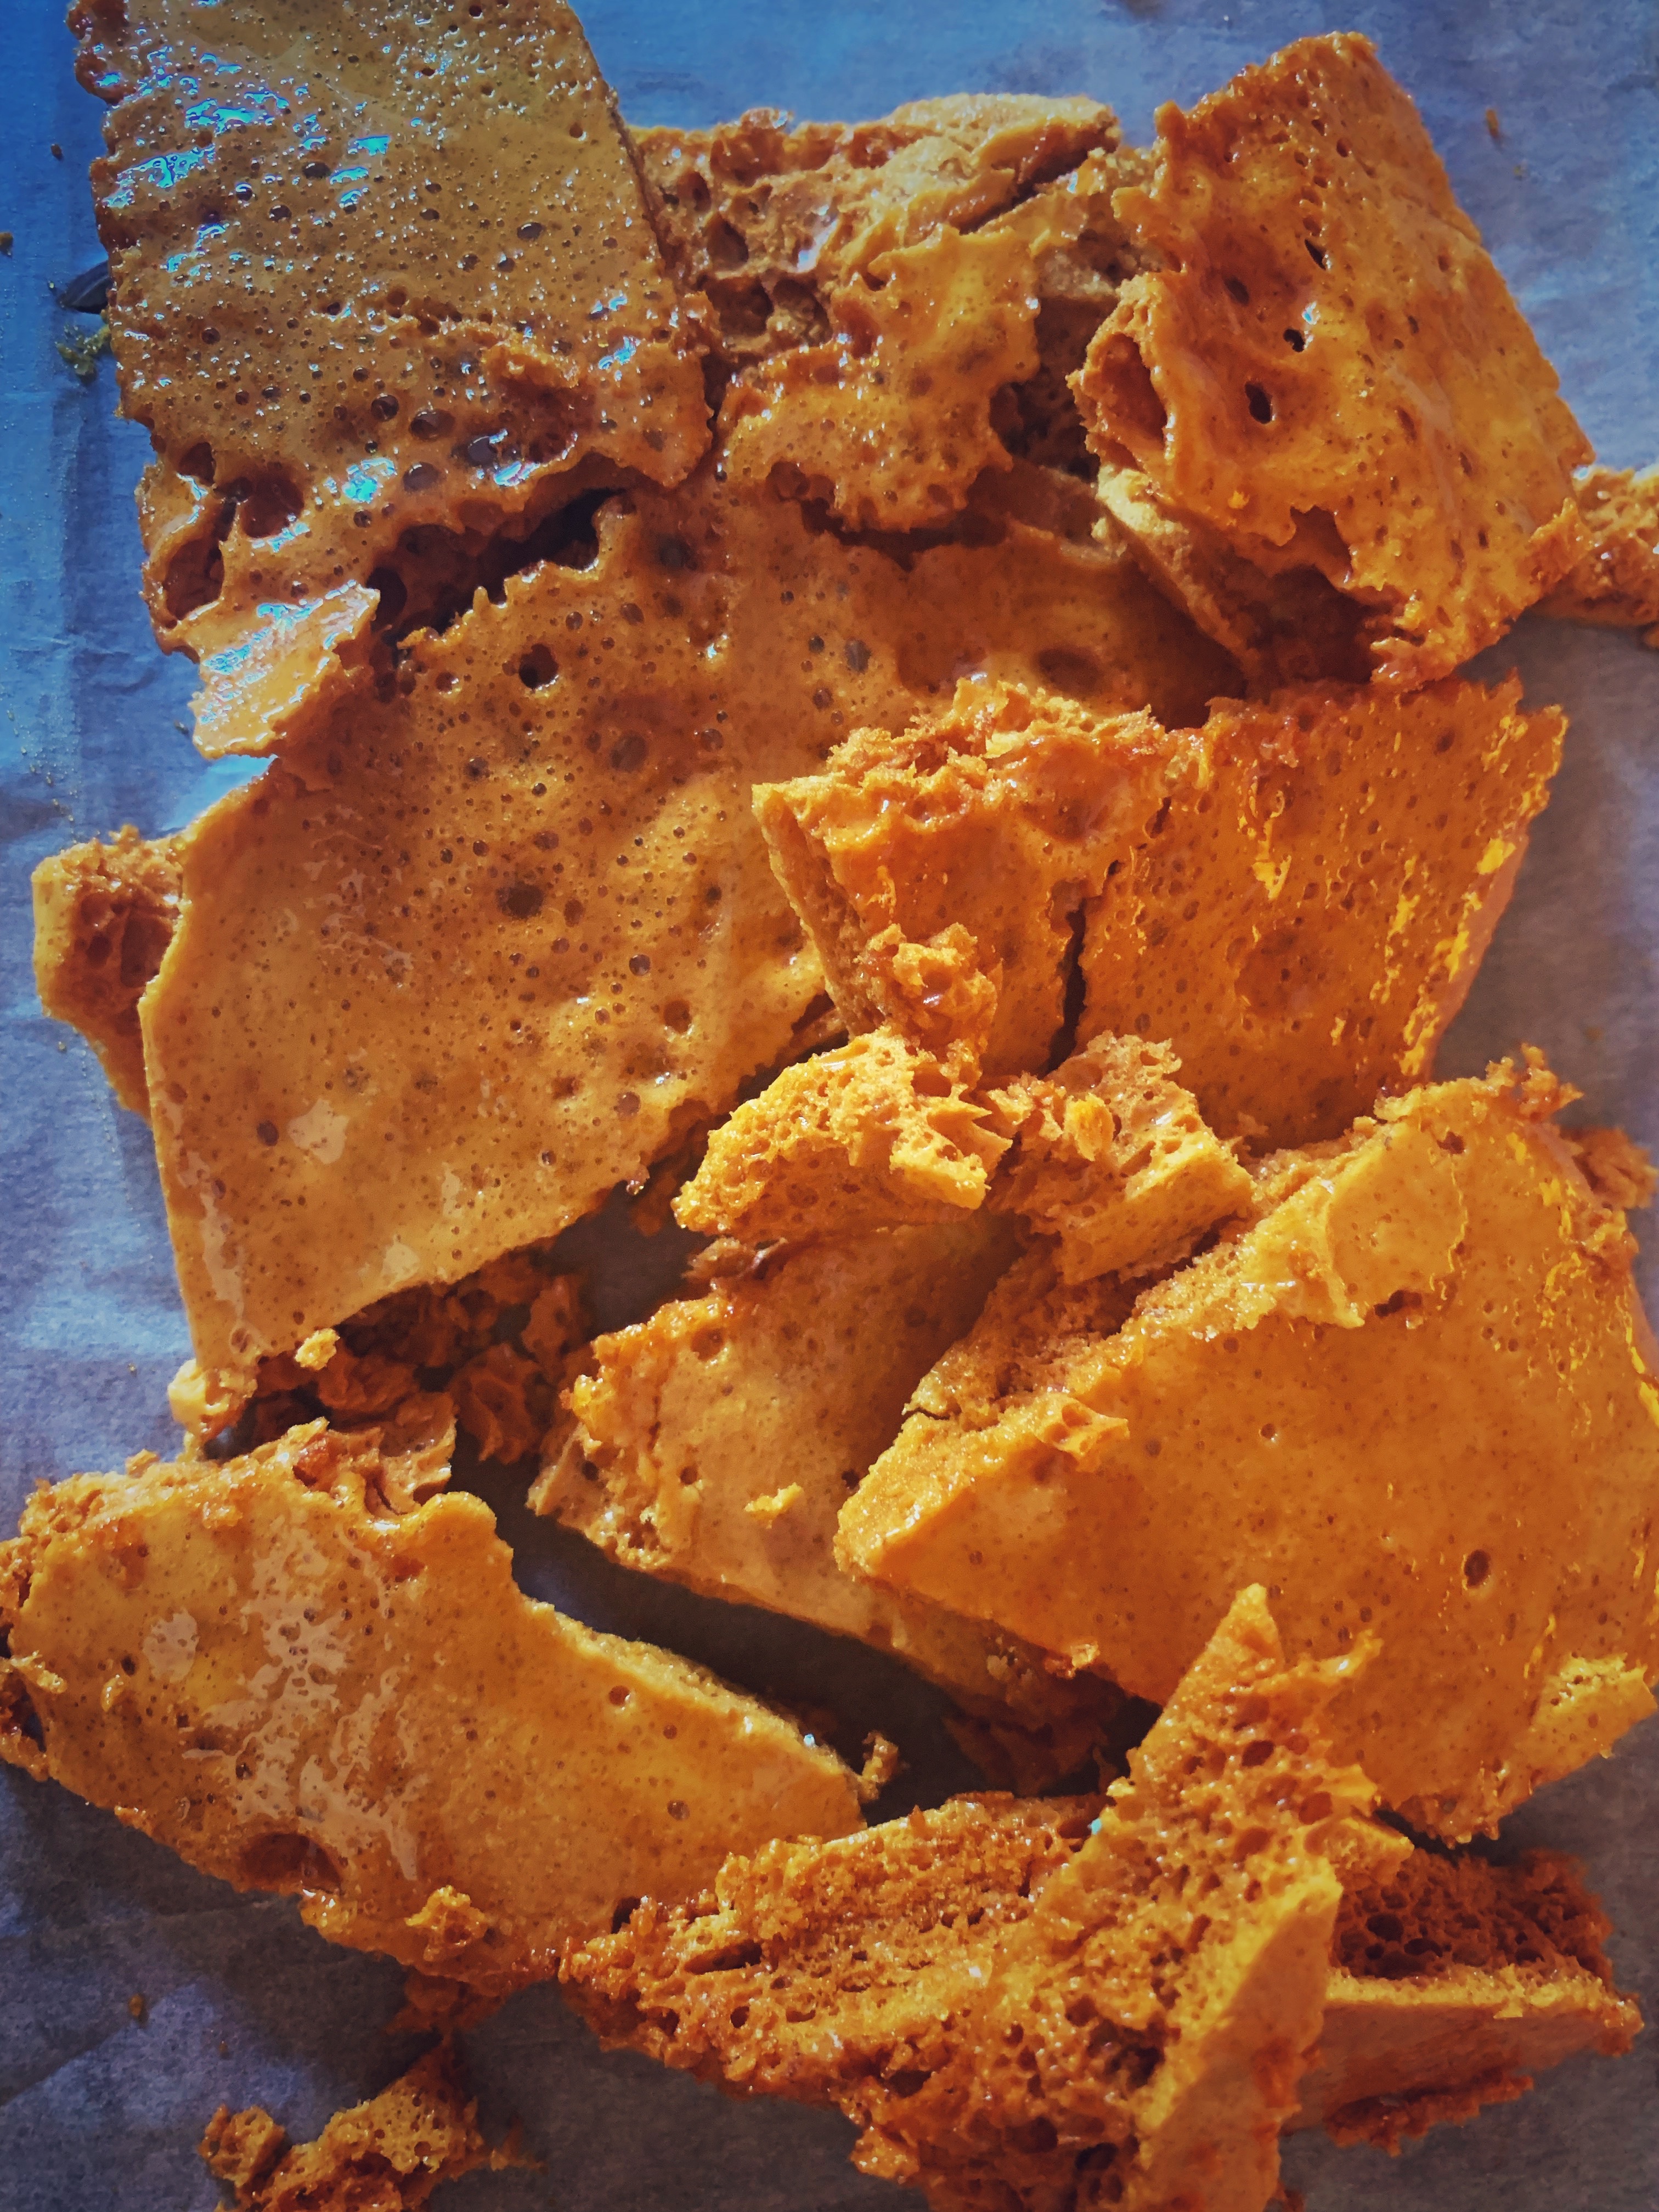
RECIPE: Honeycomb
SOURCE: Tales From The Kitchen Shed
FLAVOUR PROFILE: Sweet, crisp and crunchy with dark caramel
GOES GREAT WITH: Use this to make Honeycomb & Sea Salt Ice-cream
NOTES: This recipe requires a jam thermometer, as you will be heating the sugar to a very high temperature. Also, please ensure that you use a large saucepan. Once the bicarbonate of soda is added, the volume of the sugar-mixture will increase quickly.
MAKES: 1 30cmx20cm sheet
INGREDIENTS:
- 130g (4.6oz) WHITE GRANULATED SUGAR
- 75g (2.6oz) HONEY (or GOLDEN SYRUP)
- 4g (0.1oz) BICARBONATE OF SODA
- Pinch of SALT
METHOD:
- Line a 30 x 20 baking tray with baking paper.
- Time is of the essence in this recipe, so it is important that you get all the ingredients ready beforehand. Sift the BICARBONATE OF SODA and keep aside in a small bowl.
- In a large saucepan, add the GRANULATED SUGAR, HONEY (or GOLDEN SYRUP) and the SALT. Clip your jam thermometer in the pan and then heat the mixture until it reaches 145c. Make sure you are stirring the mixture, so that the caramelisation is even. When it comes to temperature, it will be a lovely golden brown. Remove the thermometer.
- Here’s where you need to work quickly: Turn off the heat and immediately tip in the BICARBONATE OF SODA. Continually stir the mixture so that the soda is evenly dispersed. It will bubble and foam, so be careful.
- Once all the soda has dissolved, gently pour the mixture into the prepared baking tray. Keep the lip of the saucepan close to the tray, as you want to keep all of the bubbles and don’t want to risk them bursting. Leave to cool for a few hours.
- When it has set, you can break it apart and store in an airtight (preferably glass) container, where it will last for about a week, although it will start to lose its crispiness after a few days.

2 Comments Add yours